Install Android ICS Ice Cream Sandwich Onto HTC HD 2 SD Card Version
 Source: Talkandroid.com
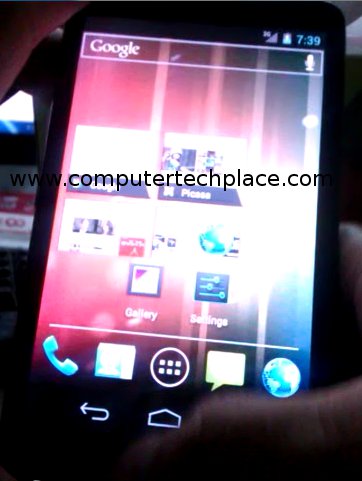
I could not believe my very own eyes when I saw that it is possible to install Android ICS in a HTC HD 2, and I think this is even faster then any other official devices out there that actually run Android ICS. I am pretty impressed that the XDA developers managed to get this Android ICS running in both SD mode and Nand mode. In this guide I will explain how to install Android ICS for HTC HD 2 and run it off in SD card. Credits goes to the geeks at XDA developers forum.
They say that the Android Ice Cream Sandwich is a fusion of honeycomb and gingerbread. Pros of this latest Android will be smooth and fast interface, cons will probably be the lack of flash and also compatibility with apps in the Android market since it is too new.
Step 1
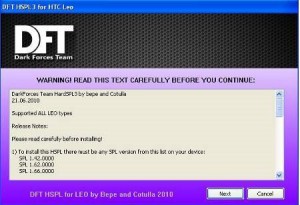
Install the HSPL
Put it simply, HSPL is the software that you need to install into your device so that your HTC HD 2 becomes hacked, therefore allowing you to proceed with such projects such as installing Android etc. There are a few HSPL versions avaliable out there HSPL 2 or HSPL 3. Choose the one that corresponds to the SPL in your device. Press and hold on to the volume down button as you turn on the device and check the SPL number before you use either of the HSPL. In case you are holding on to a device with an alien SPL and you cannot use either of the HSPLs, download on of the stock older roms and flash it across to your device to change it totally to the old SPL. Connect your device via USB to your computer while you are at the tri-colored screen and run the flash package to flash your device.
http://www.4shared.com/dir/22189940/b8552fa0/Shipped_Leo_ROMs.html
If you do not feel comfortable at this point, do not proceed. After flashing, check your device if it has the correct SPL for you to carry on. You can try other roms too. If you cannot flash any of the stock roms, then I am sorry, your device is too new to be hacked.
Step 2
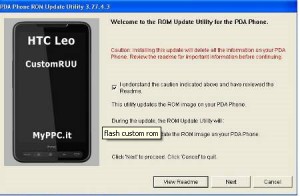
Upgrade the Radio
The Radio is a firmware package that allows the device to communicate and send signals. Android uses a different communication “protocol” and thus will need the newer radio upgrade. Download a version that is higher then 2.12 is highly recommended. Similarly, get to the tri-colored screen and with your device hooked up via USB to the computer, double click on the CustomRuu.exe to upgrade the Radio firmware of your HTC HD 2. Important, if you do not upgrade the radio, or use the wrong Radio, the device may hang during boot, etc. But you can still do the flash even after Android has been installed, so no worries.
Step 3
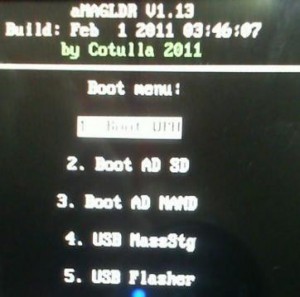
Install the Magldr
The Magldr is a special boot menu created by the XDA developers in replacement of the Windows Mobile operating system that is currently in your device, after flashing this in, you will not have a Windows at all running in your HTC HD 2. So take note. To install the Magldr, you will need to connect your device via USB to your computer and make sure that the device is connected via ActiveSync software or WMDC if you are using Windows 7. Download and install those software if you do not have them. After that, double click on the executable of the Magldr package and let it install the Magldr.
Step 4
Install the Android ICS
Remove the SD card from your Android phone and insert it into a card reader of your computer. Or you can simply use the option 4 from Magldr directly and use as USB storage. You should be able to see your SD card on your Windows computer. Download the Android ICS build which is usually a 7zip archive and extract it. Make sure that the SD card is empty. Delete everything or just format the whole SD card clean. Create a folder in the SD card called “ICS” and paste the extracted contents into the folder.
When you are done copying the contents across to the SD card, still using the Magldr, go to option 10. Services => Boot Settings => AD SD Dir =>set the directory to point to the “ICS” folder. After that back up one level of the Magldr and select option 2 to boot AD SD. This will run the Android directly off from the SD card. Give it some time to boot. The author of this site mentioned that it will take 2 to 3 minutes for the first boot. After that reboot at least once after getting past the first configuration screen for the settings to take effect.
In any event, you wish to change to another Android build, you can simply press and hold on to the “hang up” button of the HTC HD 2 while you are powering up your device. It will stop at the Magldr, from there you will be able to access the Magldr menu again and mount the phone as storage and change to another Android build by copying the files over. Remember to delete and clear the whole SD card.
You can always copy and retain the contents of the whole SD card so that after trying new builds, simply clear the SD card and copy the backup right back into the SD card and you will not lose your Android ICS apps and settings.
There you go, enjoy your Android ICS on your HTC HD 2. Of course this is in its early stages, more stable builds will be coming right up. I will be updating this article with the newer builds in future. I hope you enjoy this article on how to install Android ICS on HTC HD 2.


Leave a comment